Introduction
Hidden files are a vital component of your Windows 11 system. They’re concealed to prevent unintentional changes that could affect system stability. Despite being hidden by default, access to these files is essential for tasks like software upgrades, troubleshooting, and system customization. Understanding how to view these hidden files correctly and safely is crucial to maintaining a healthy system. This guide offers insight into both simple and advanced techniques for accessing hidden files, helping you manage your system effectively. Whether you’re a tech expert or a Windows 11 novice, this comprehensive guide will aid you in exploring the hidden aspects of your operating system efficiently.
Understanding Hidden Files in Windows 11
Windows 11, like previous versions, keeps certain files hidden to protect them from modifications that could impair your system. These files often include necessary configuration files and system data. They ensure your computer runs smoothly and shield key files from accidental deletion or changes. When accessed properly, these hidden files can assist in maintaining system efficiency and performance. The following sections will guide you in unlocking these files safely and efficiently.
Why Access Hidden Files?
There are several scenarios where accessing hidden files on Windows 11 becomes necessary. Primarily, these files might contain critical configurations and system information required for troubleshooting or system maintenance. For tech-savvy users, accessing hidden files allows for system customization, offering greater control over computing functions. Additionally, certain applications store essential data in hidden files, which need to be accessed for tweaks or data recovery. Being informed about when and why to access hidden files ensures better decision-making for optimal computer performance.
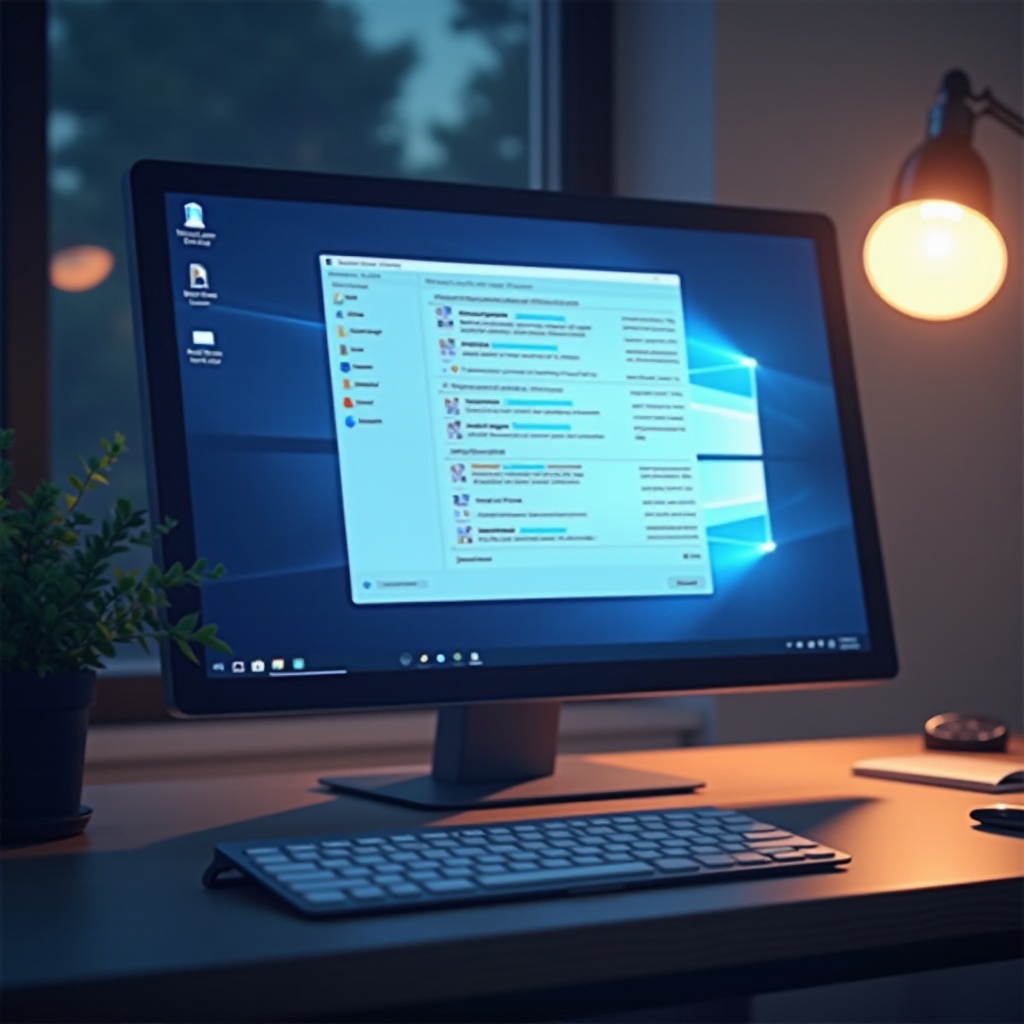
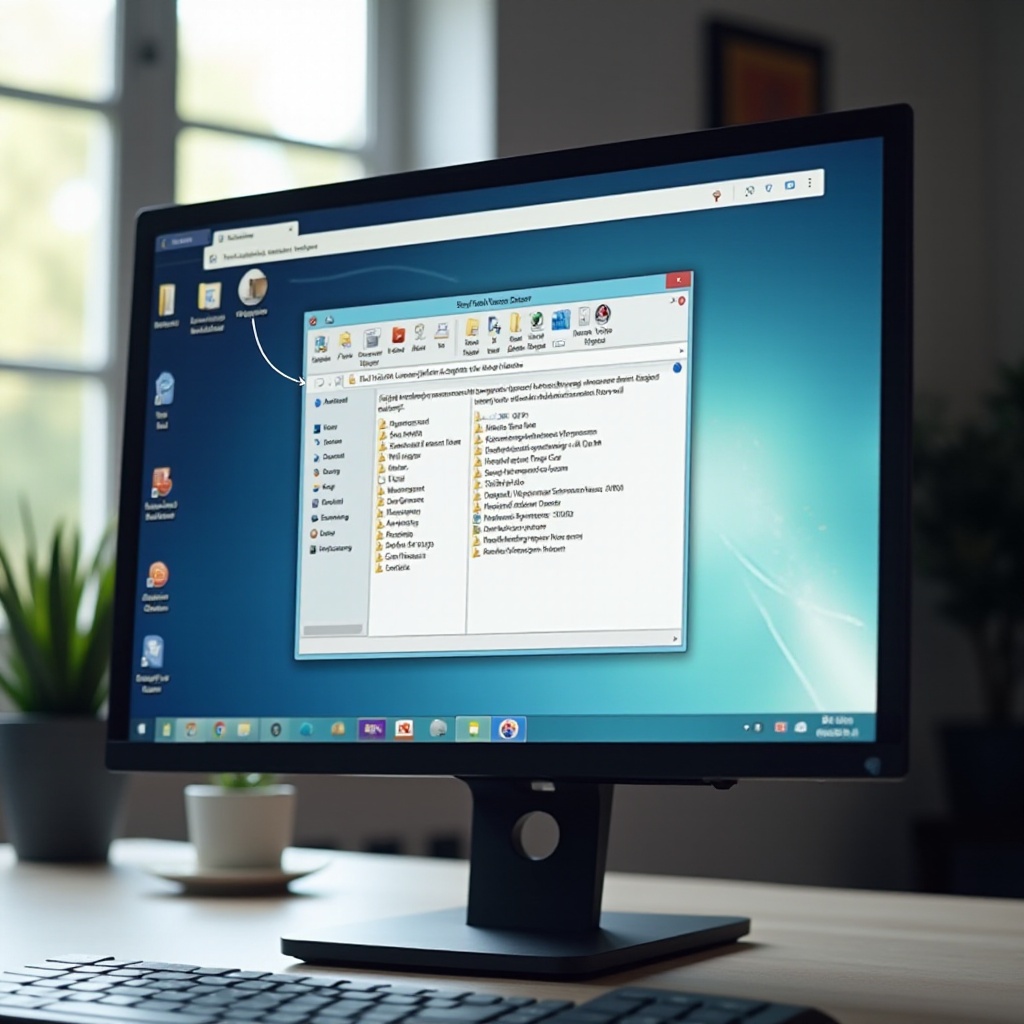
Step-by-Step Guide to Viewing Hidden Files Using File Explorer
Accessing hidden files via File Explorer is one of the most user-friendly methods, providing a visual pathway through the file system. Follow these steps:
-
Open File Explorer: Click the File Explorer icon on the taskbar or press
Win + E. -
Navigate to the View Tab: Look for the ‘View’ tab in the top menu.
-
Find the Hidden Items Option: Under the ‘View’ tab, select ‘Show / Hide’.
-
Check Hidden Items: Check the box labeled ‘Hidden items’ to display all hidden files and folders.
-
Explore Your Files: With the hidden files now visible, browse your file directories to locate the files you need.
Performing these steps ensures you can easily locate and view hidden files, which is perfect for quick tasks requiring direct visual access.
Advanced Methods to View Hidden Files
If you require greater control or need to perform advanced system maintenance, tools like Command Prompt and PowerShell provide deeper access.
Using Command Prompt
Command Prompt offers a potent way to access hidden files with specific commands:
-
Open Command Prompt: Press
Win + R, typecmd, and press Enter. -
Navigate to the Directory: Use
cd <directory path>to go to the folder containing hidden files. -
List Hidden Files: Enter
dir /ato list all files, including hidden ones.
These commands will allow Command Prompt to reveal all files, marking the hidden ones appropriately.
Utilizing PowerShell
PowerShell offers scripting capabilities as an alternative to Command Prompt:
-
Open PowerShell: Find PowerShell in the Start menu and launch it.
-
Go to Desired Location: Use
Set-Location <directory path>to navigate to your target directory. -
Reveal Hidden Content: Run
Get-ChildItem -Forceto list all items, hidden or not.
PowerShell’s commands are valuable for users engaged in thorough system management, leveraging its scripting power.
Safeguarding While Accessing Hidden Files
While accessing hidden files, take precautions to avoid damaging your system. Always check which files you’re altering to prevent accidental deletions or changes. Pay close attention when editing configuration files; errors can impact system functionality. It’s wise to regularly back up your system to recover from any unintended complications. Security software can offer extra protection by identifying critical files. This blended approach ensures safe exploration of hidden files without compromising system integrity.
Troubleshooting Common Issues
Encountering problems while accessing hidden files is not uncommon. For instance, hidden items may not appear even after enabling the option in File Explorer. Ensure that your folder settings are correct and that your system is updated, as outdated versions may restrict access. If command-line methods like Command Prompt or PowerShell are unresponsive, a system restart may resolve minor glitches obstructing the processes.
Conclusion
Accessing hidden files on Windows 11 provides a doorway to deeper system functionalities essential for maintenance, customization, and troubleshooting. Methods range from the simplicity of File Explorer to the advanced commands of the Command Prompt and PowerShell. While exploring, maintaining safety is paramount, which involves steps like regular backups. This knowledge equips users to use hidden files as a valuable resource for system management, enhancing their Windows 11 experience.
Frequently Asked Questions
What are hidden files and why are they hidden?
Hidden files are important system or configuration files concealed to avoid accidental alterations that ensure the stable operation of your device.
Can I permanently unhide files on Windows 11?
While viewing hidden files is feasible, permanently unhiding them is not recommended due to potential security risks. It’s safer to access them temporarily.
Is it safe to delete hidden files in Windows 11?
Deleting hidden files is generally unsafe unless you’re sure of their role, as they might be crucial for system stability. Always have backups before making changes.