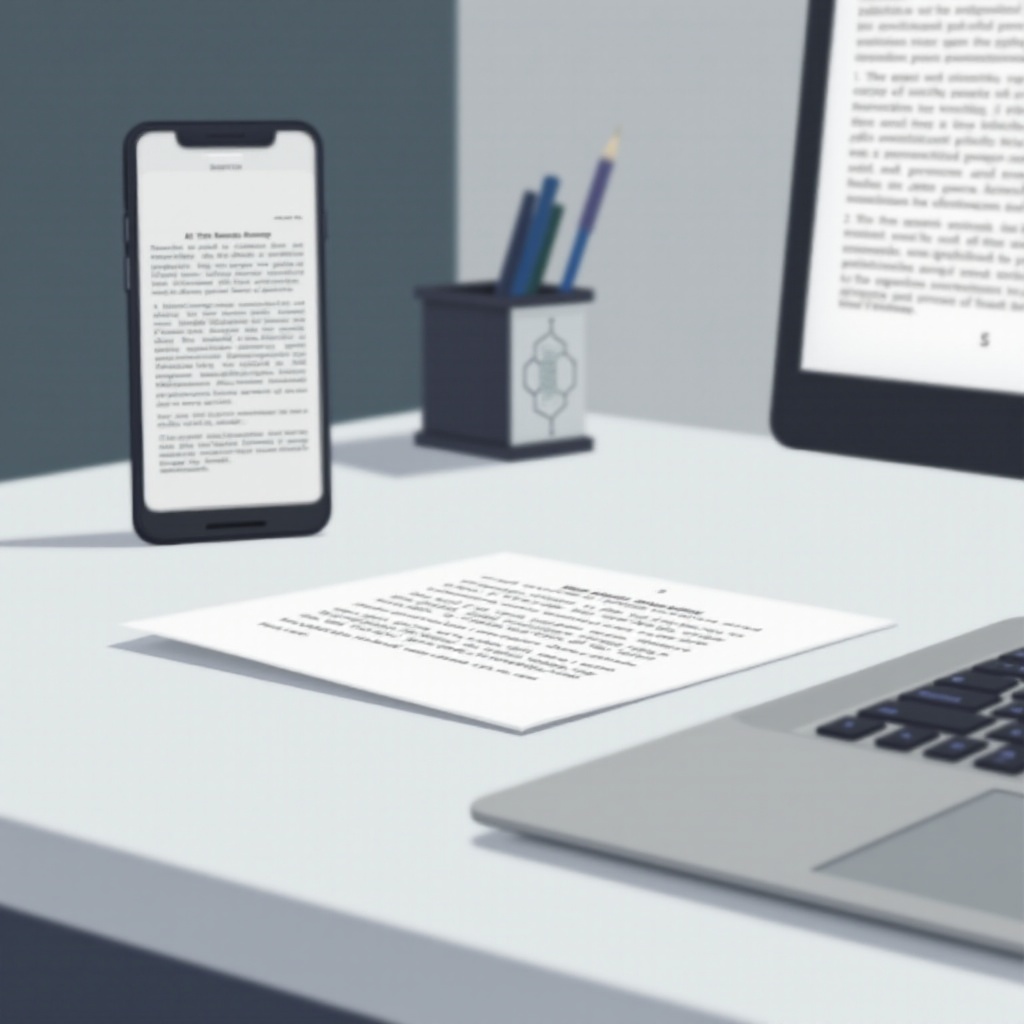
Setting Up Your Smartphone for Scanning
Before diving into the world of mobile scanning, ensure your smartphone is well-prepared. Here’s how:
- Operating System and Software Updates: Keep your smartphone updated with the latest software. This helps in running the latest scanning apps smoothly.
- Camera Quality: Ensure your phone camera is clean and in good condition. A higher resolution camera will provide clearer scans.
- App Installation: Select and install a reliable scanning app from the app store. Popular options include Adobe Scan, CamScanner, and Microsoft Office Lens.
- Storage Management: Check the available storage on your smartphone. Scanned documents can consume space quickly, so ensure you have enough storage or use cloud services for backup.
With your smartphone set, let’s move on to the actual scanning process.

Scanning Documents with Your Smartphone
Scanning documents is a straightforward process once your phone is ready.
- Open Your Scanning App: Launch the scanning app you installed. Each app typically has a user-friendly interface guiding you through the process.
- Prepare the Document: Lay your document flat on a well-lit surface to avoid shadows. Ensure it’s wrinkle-free for a clear scan.
- Align and Capture: Position your smartphone directly above the document. Follow the app’s instructions and guidelines to capture the image. Ensure all corners are within the frame.
- Review and Adjust: After capturing, the app allows you to review and adjust the scan. You can crop, rotate, and adjust brightness if necessary.
- Save or Add More Pages: Once satisfied, save the document. If you have multiple pages, most apps let you continue scanning and add to the same file.
Your document is now scanned. Let’s enhance its quality.
Enhancing Scanned Documents
Scanned documents might need some tweaking to look professional.
- Editing Tools: Use the built-in editing tools in your scanning app. Adjust brightness, contrast, and sharpness to enhance readability.
- Filters: Apply filters like black and white or grayscale to improve text clarity, especially if the original document had faint prints.
- Cropping and Aligning: Correct any skewed images by cropping and adjusting the alignment. Ensure that the text fits perfectly within the borders.
- OCR (Optical Character Recognition): Some apps offer OCR which converts scanned images into editable text. This feature is useful for extracting and editing text from your scans.
Once enhanced, it’s time to save and share your documents.
Saving and Sharing Scanned Documents
Storing and sharing your scanned documents efficiently is crucial.
- File Formats: Save your document in commonly used formats like PDF or JPEG. PDFs are preferred for multi-page documents.
- Local and Cloud Storage: Save the scanned document on your device or use cloud services like Google Drive, Dropbox, or OneDrive for easy access and backup.
- Sharing Options: Most apps allow sharing directly from the app. You can email the scanned document, share via messaging apps, or generate shareable links.
- Organizing: Keep your scanned documents organized in folders for easy retrieval. Label folders and documents clearly.
By saving and sharing efficiently, you ensure your documents are accessible when needed. Occasionally, you might face issues. Here’s how to troubleshoot them.

Troubleshooting Common Issues
Scanning with a smartphone can sometimes present challenges. Here are solutions for common problems:
- Blurry Images: Ensure the camera lens is clean and hold your phone steady while scanning. Use a flat, stable surface for the document.
- Lighting Issues: Scan in a well-lit area to avoid shadows and glares. Natural light or balanced artificial lighting works best.
- App Crashes: Ensure the app and your phone’s OS are updated. Restart the app or phone if crashes occur.
- Storage Full: Regularly back up scanned documents to cloud storage and clear old files to free up space.
These troubleshooting steps should resolve most issues. For a better scanning experience, consider advanced tips and tricks.
Advanced Tips and Tricks
Elevate your scanning game with these advanced tips:
- Batch Scanning: Use batch scanning for multiple documents to save time. Most apps support continuous scanning without exiting the mode.
- Annotations and Signatures: Some apps allow you to annotate or add digital signatures to scanned documents, enhancing their usability.
- Third-Party Apps: Explore other productivity apps that integrate with your scanner app for better document management and collaboration.
Implementing these advanced tips makes scanning more efficient. Let’s wrap up with a conclusion.

Conclusion
Scanning with a smartphone is a convenient and efficient way to digitize documents. By setting up your device correctly, using the right techniques, enhancing scans, and leveraging storage solutions, you can create high-quality digital copies of any document. Troubleshooting and advanced tips ensure you get the best results from your smartphone scanner. Happy scanning!
Frequently Asked Questions
What is the best app for scanning with a smartphone?
Popular apps like Adobe Scan, CamScanner, and Microsoft Office Lens are highly recommended for their features and user-friendliness.
How can I improve the quality of my scans?
Ensure good lighting, keep the document flat, hold your phone steady, and use the editing tools and filters provided within the scanning app.
Is it safe to store scanned documents on my phone?
Yes, it’s safe if you use encrypted storage and secure cloud services. Regularly back up documents and use passwords to protect sensitive files.


